Autom Center Installation
Provides step-by-step instructions for installing the Autom Center component.
Download Links
1
Download the Autom Mate Autom Center Setup file from here.
2
Run the .exe file as administrator.
3
Click Next on the displayed wizard.

4
Select the installation type and, click Next.

5
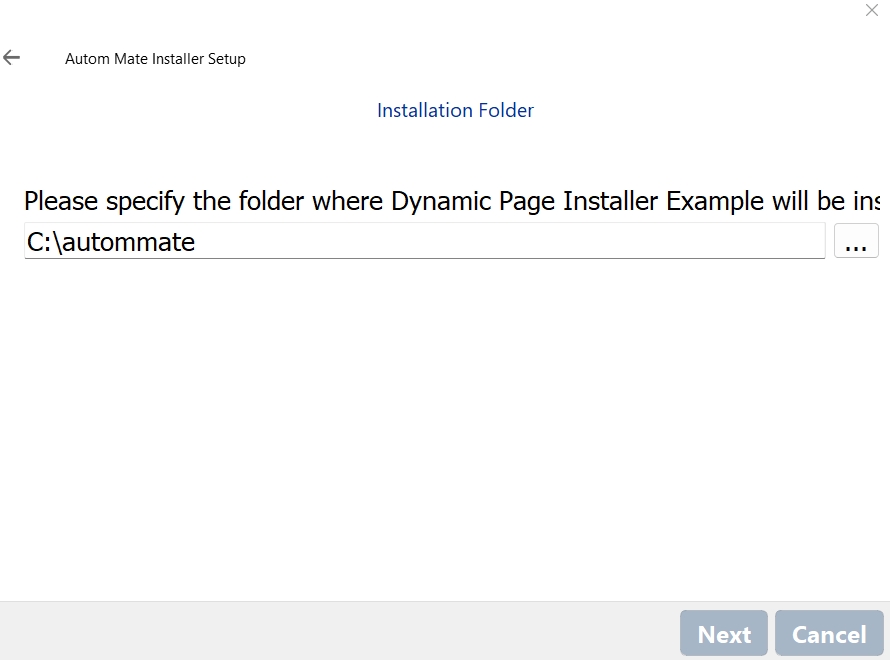
Determined root where the exe is saved and, click Nex

6
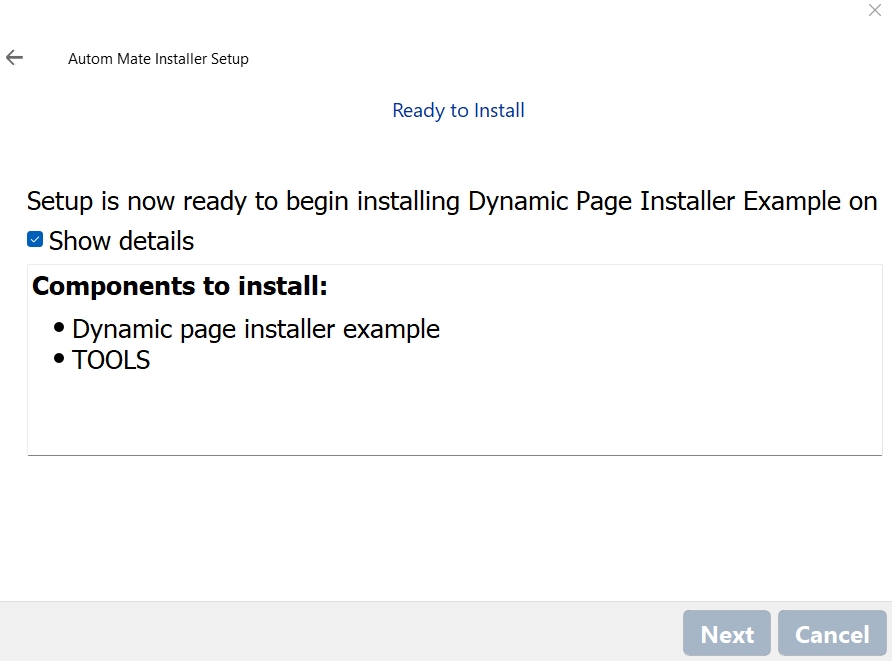
Setup is ready now and click the next button, you can move to installation part

7
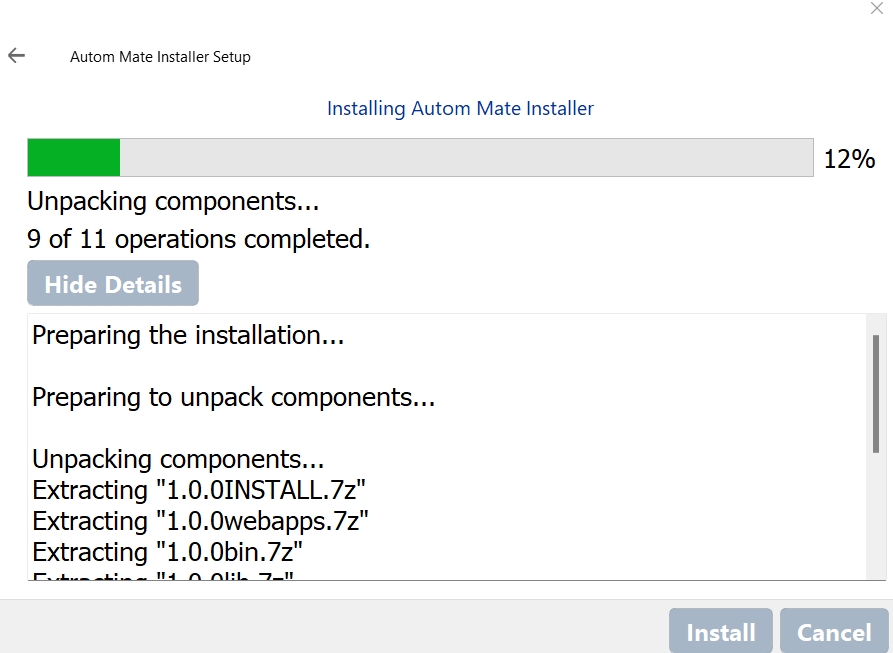
You can start to installation when the click "install button"

8
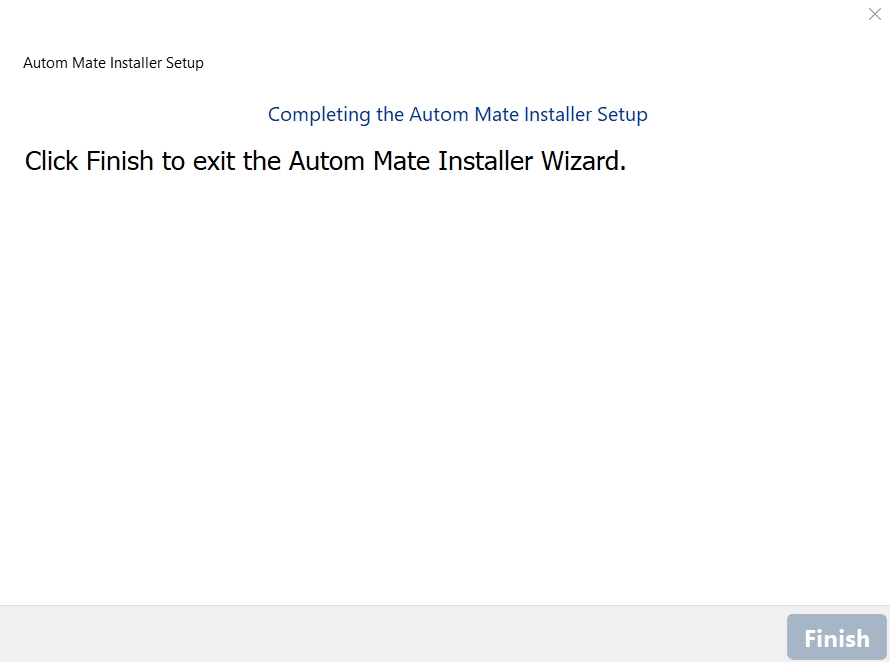
After the Autom Mate is installed successfully, the following wizard will be displayed.
You can click Finish to close the wizard.

Last updated
